MICRONEEDLING WITH ILLUMINE SERUM
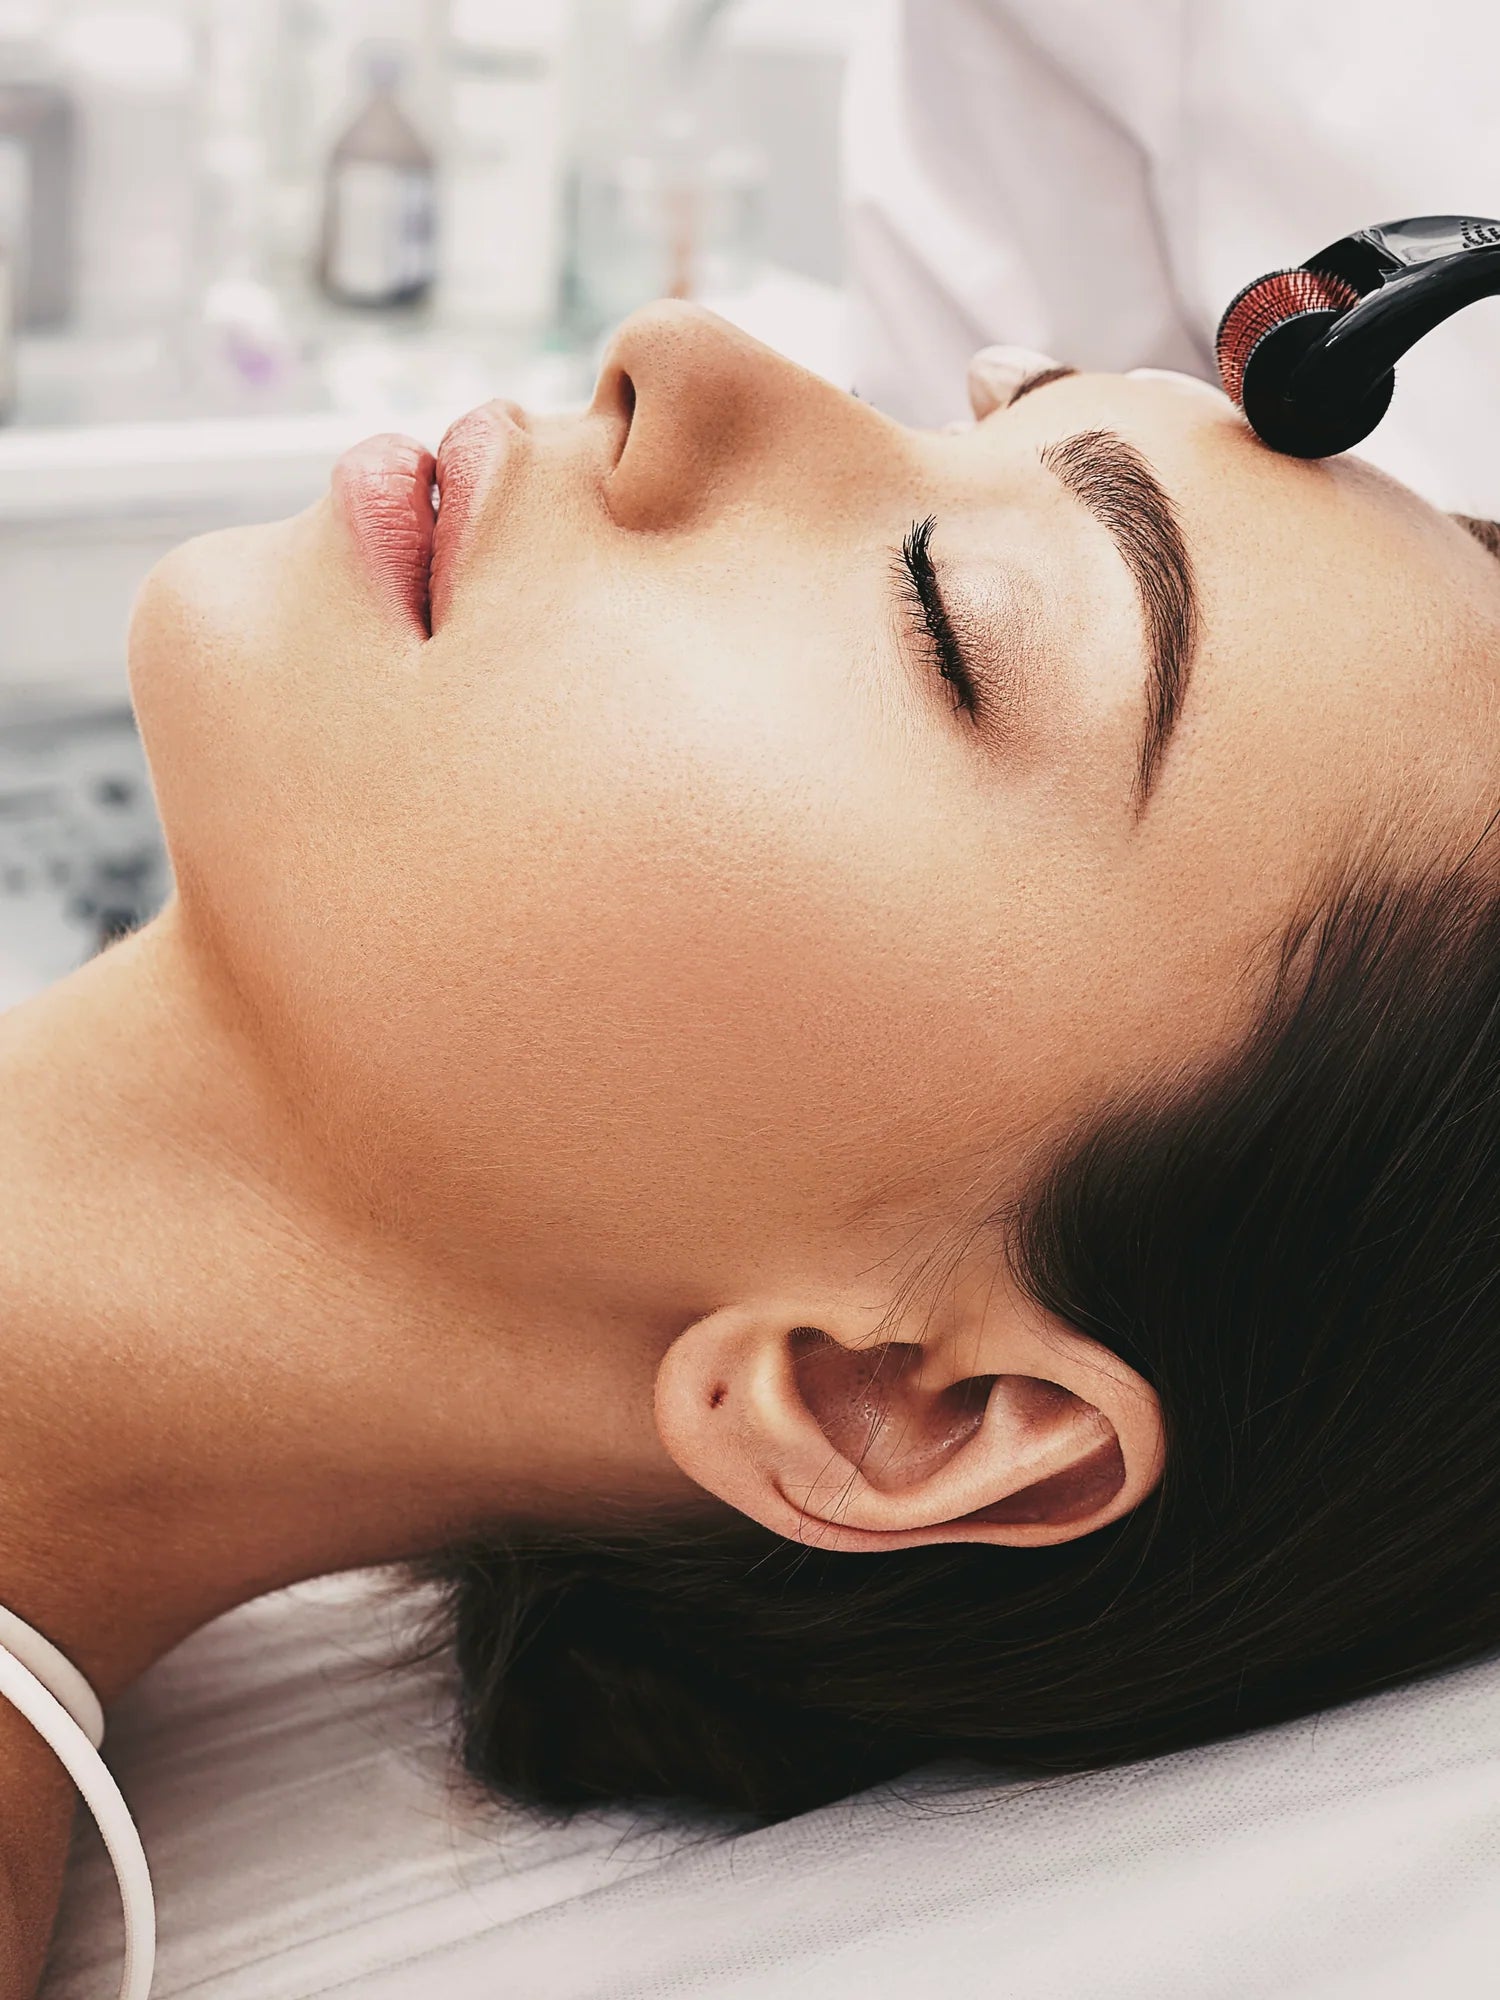
Microneedling delivers noticeable improvements when combined with the Illumine serums. The choice of serum and needling technique we use depends on the skin concern. For deeper blemishes and pigmentation, Illumine Serum with stem cells and peptides is infused into the basal layer of the skin using a light derma roller with the stamping technique. For dull, blemished skin, a stimulating dermapen technique is carried out.
While microneedling offers impressive results for treating pigmentation and promoting an even skin tone, it is not recommended for individuals with active acne or very sensitive skin.
Best For
Treatment Overview
-
Book Free Consultation
Microneedling, paired with the Illumine Serum, infuses the skin with a potent blend of Vitamin C, Glutathione, Kojic Acid, and Niacinamide. Together, they strategically reduce melanin production, addressing pigmentation concerns. The needling technique increases serum absorption by 300% compared to topical application, ensuring deeper penetration.
By creating controlled micro-injuries, microneedling not only rejuvenates the epidermal layer but also diminishes melanin production, visibly lightening pigmentation and enhancing the skin’s texture and tone.
-
WHO SHOULDN’T HAVE THIS TREATMENT:
- If you have any of the following conditions, please inform your therapist, as she is able to customise your treatment and avoid the probe that affects the following conditions.
Heart Condition, Diabetes, Pacemaker, Epilepsy, Hearing difficulty, Herpes Simplex.
- Ro-Accutane- wait 6 months.
- Skin diseases active in the treatment area.
- Recent and extreme sun exposure
- Botox and Fillers within 2-3 weeks of treatment.
TOOLS AND EQUIPMENT USED
DERMA ROLLERS
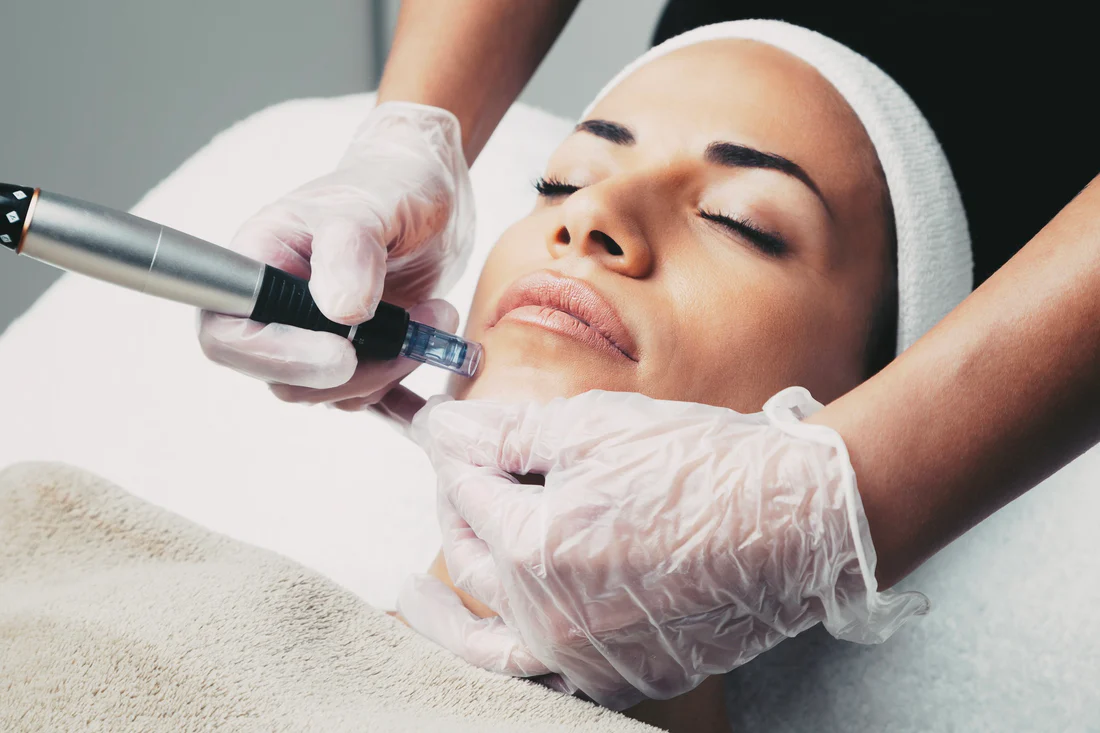
DERMAPEN
DERMA STAMP
Traditional facial derma rollers feature 192 needles, ranging from 0.5mm to 1.5mm, and are used in conjunction with meso serums to engage the skin's dermal layer. However, our approach with Micro-needling and Stem Cells is distinctively tailored to address the basal layer, which is the epicentre of common skin issues such as pigmentation, blemishes, ageing, and lacklustre skin tone.
Our advanced 540-needle Derma roller is designed to create 540 swift channels for efficient stem cell penetration. With a precise 1.0mm depth and gentle application, we ensure the Stem Cells serum reaches the target basal layer, bypassing the dermis entirely. This method prioritises serum delivery over the typical trauma or pinpoint bleeding commonly linked to conventional microneedling.
Before venturing into the realm of skin needling, it's imperative for the therapists to have advanced knowledge of skin anatomy and to learn the technique that targets the exact layer where concerns manifest.
For stem cell micro-needling, our 42-needle dermapen pinpoint issues within the skin's depths, and create 42 precise channels to transport Stem Cells serum, with minimal intrusion to the basal layer. In contrast, an overly invasive and aggressive approach can misguide stem cells into the lymphatic system, where they're flushed out by the body's defensive responses. For more entrenched dermal issues like acne scars, stretch marks, and deep-set wrinkles, the traditional 12-pin needle emerges as our preferred choice.
Though often overlooked, derma stamping holds a unique niche within micro-needling. Set to 1.5-2.0mm, it excels in targeting acne scars, piercing the ideal depth to boost collagen synthesis and refining the skin's surface. At 2.0mm, the derma stamp delves even deeper, making it especially adept at addressing acne indents. This penetration rejuvenates the injured skin from its core. For the sensitive under-eye zone, we use a subtle 0.5mm setting, amplifying the absorption of the Illumine eye serum, with glutathione for combating dark circles.

The Treatment Process
1: The Consultation
Utilising our state-of-the-art skin scanner, we conduct a detailed examination of your skin's condition. This, when combined with a one-on-one consultation with our seasoned therapist, becomes instrumental in identifying your goals, skin obstacles, budget, and beyond. The information harvested from this dual analysis equips our therapist with a holistic understanding of your skin's deeper intricacies. This ensures a customised selection of peels, products, and equipment, all fine-tuned for your distinctive skin requirements. Furthermore, drawing from this in-depth analysis, we can prescribe your home skincare products and maintenance regime that amplifies the effects of our in-clinic treatments.
2: PRE TREATMENT ADVICE
- If you have sensitive, allergy-prone skin, or intolerances to any skincare ingredients. (check the full ingredient list for this product).
- If you're unsure, always perform a patch test before use.
- Avoid applying the stem cells to broken, irritated, or inflamed skin or if you have any contagious facial conditions that have the potential to spread, do not use them.
3: Homecare & Maintenance
- Illumine Cleanser
- Illumine Hydra Solution
- Clarify Peel Mask
- Illumine Serum
- Illumine Stem Cells Serum
- Illumine Moisturiser
- Illumine BB Cream
- Illumine Home Facial Kit:
- Illumine cleanser
- Illumine Hydra solution
- Clarify Peel mask
- Illumine Stem Cells serum
- Illumine moisturiser
- Ageless Stem Cells mask
- Ultrasonic scrubber
- Derma roller


TOP 3 COMPLEMENTARY TREATMENTS
STEP BY STEP TREATMENT PROTOCOL
Products and Tools Used in Treatment
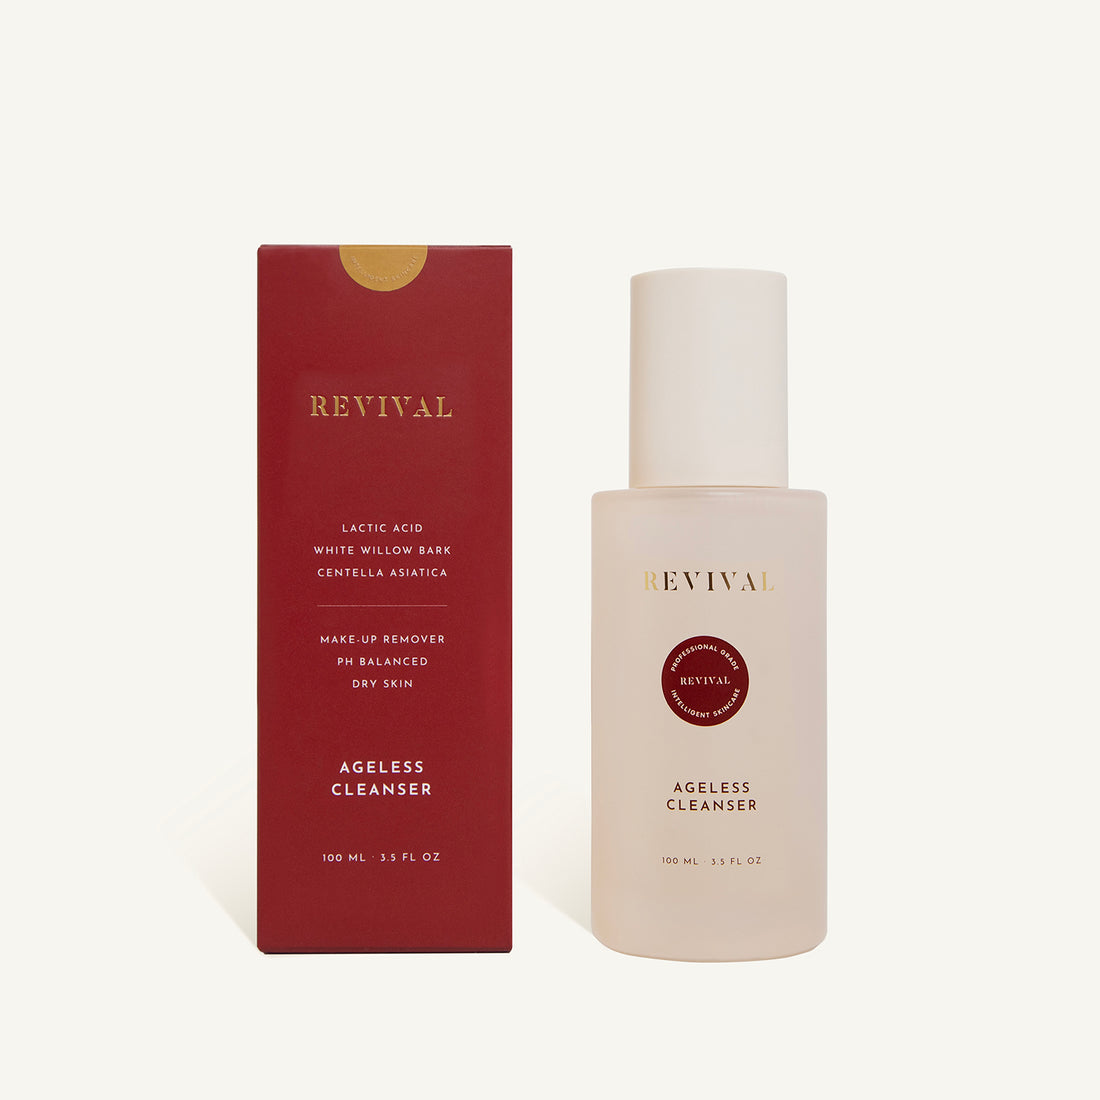
- Ageless Cleanser
- EMLA 5%
- Dermapen
- Illumine serum
- Illumine Moisturiser SPF 50
Step 1
Ageless Cleanser Superficial Cleanse:
Dispense a pea-sized amount of Ageless Cleanser onto fingertips. Apply uniformly over the face. Add water, using circular motions to emulsify and dissolve makeup and surface debris.
Remove with facial gauze soaked in lukewarm water.
Step 2 + 3
Step 2
Apply the EMLA 5% anaesthetic cream evenly all over the treatment area using just
Apply a thin layer of topical anaesthetic cream using one finger. Avoid direct contact with eyes. Leave the cream on for 20 minutes
Step 3
After 20 minutes have passed, take off the numbing cream using 2 gauzes and lukewarm water, making sure there is no excess numbing cream left on the skin’s surface
Step 4
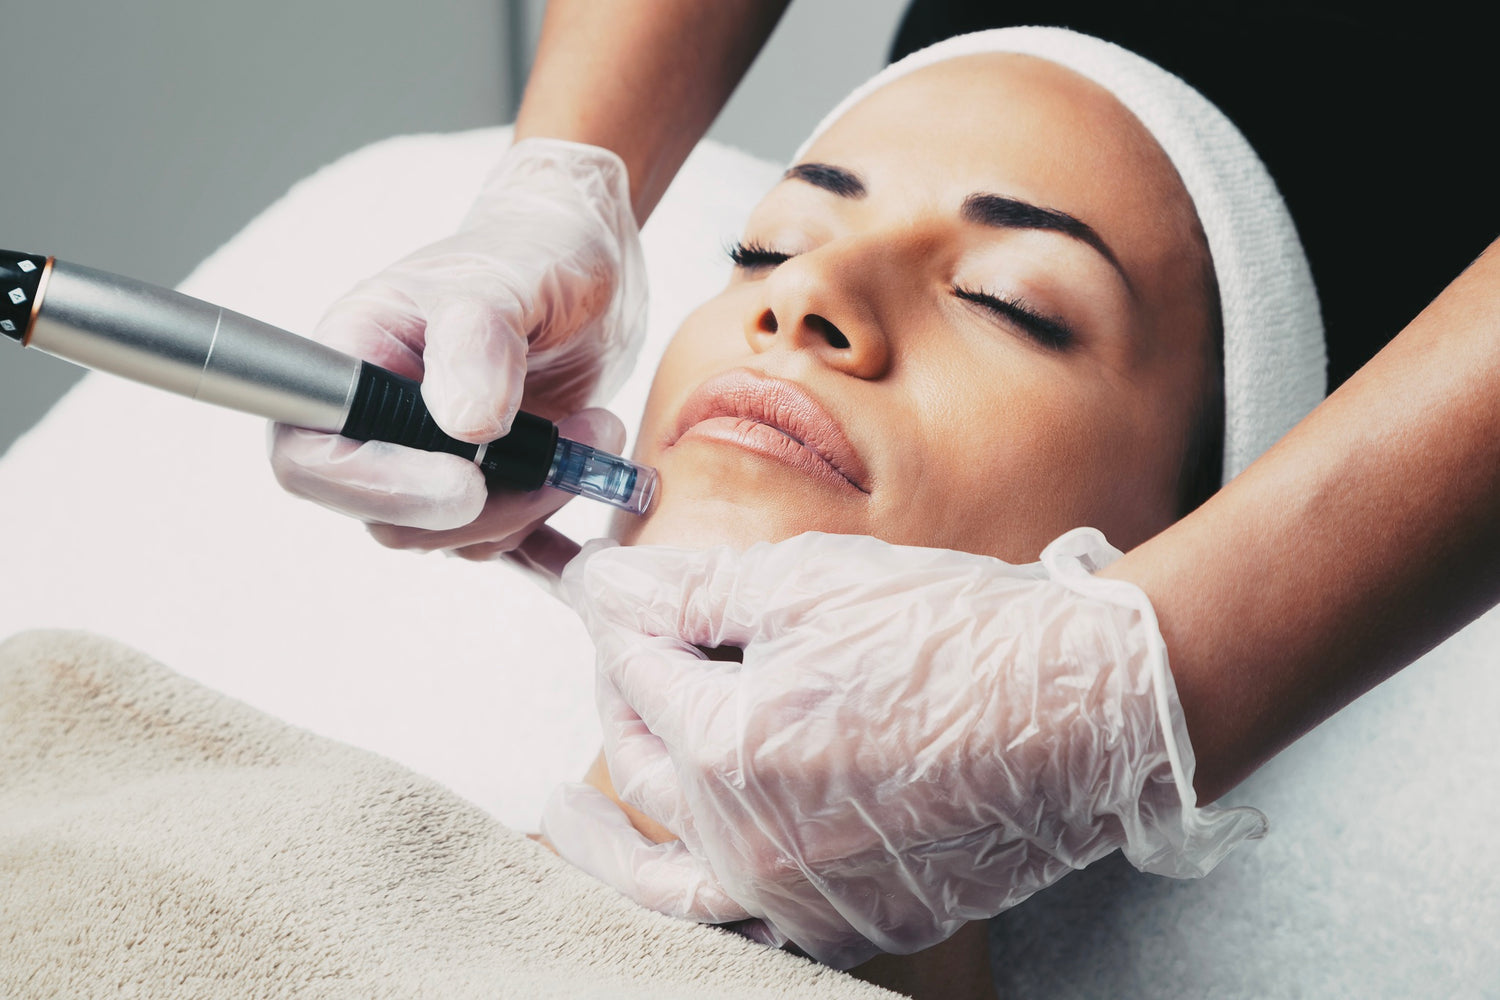
Microneedling with Dermapen:
Apply 4 drops of Illumine serum to the right cheek and spread the serum evenly, and work this microneedling sequence.
- Right and Left cheek- use a needle depth from 1.2mm
- Forehead, Nose, Upper Lip, Chin - use a needle depth of 1.0mm
During microneedling you can use a combination between circular and stamping techniques in order to ensure optimal results. Keep reapplying the Illumine serum during the treatment if needed.
Step 5
After the microneedling session, it’s normal for the skin to fee hot and sensitive, just apply a cold compress to soothe and calm down the erythema.
Apply a pea-sized amount of Illumine Moisturiser SPF 50 to the treated area to protect against environmental aggressors as well as UV Light.
Aftercare
- Allow at least 4-6 hours after the procedure, avoid heat environments where the skin is likely to sweat.
- To maximise the effectiveness of the Illumine Stem Cells, avoid integrating products loaded with mineral oil, lanolin, or alcohol into your regime. These ingredients can disrupt the skin's natural acid mantle and alter its pH, potentially compromising the peels’s performance.
- Keep the skin protected and nourished: After 6 hours use Ageless Rejuvenation mask and for 3-4 days post microneedling treatment rehydrate the skin with the Ageless HA Serum.


FAQ
Is anaesthetic cream used during the microneedling treatment?
Absolutely, the aesthetic practitioner will apply a topical anaesthetic cream prior to the microneedling treatment in order to ensure that client comfort is maintained at all times.
Is my skin going to be really red after the treatment?
You should expect redness after the microneedling treatment as the main purpose of the procedure itself is to cause injury to the skin in order to stimulate the skin’s natural healing process. Expect redness and swelling of the treated area, which will subside in 48h. We advise you not to book any major events after the microneedling treatment due to the expected downtime.
Is the microneedling going to be painful?
As topical anaesthetic cream is applied during the treatment, pain and discomfort is minimised. You will experience some pain, slight pressure and vibrations from the microneedling device during the treatment. After the treatment, the area will feel hot and tender for the following 24h and we recommend applying a cold compress, which will calm down the skin.
Is my skin going to bleed during the micro-needling?
Bleeding is dependent on each individual, however, it is often expected during the microneedling treatment as it is being carried out in the vascular layer of the skin. The bleeding is pin point, controlled trauma that subsides immediately.
How long until I see results?
Expect to see results 7 days post treatment. You might experience dryness, tightness and shedding in the first 4 days as the skin will still be in the process of regenerating itself. Skin is completely healed and you will notice a healthy glow after the 7th day, when the healing process has reached its final stage.
When should I book my next session?
We advise to book your microneedling treatment every 4 weeks as you need to allow the skin to completely regenerate itself and produce new collagen and elastin, which takes up to 21 days. In regards to how many treatment sessions you need, we recommend you consult with your aesthetic therapist as that will be completely customised towards your skin concern and needs.
Shop the Clarify Range
-
Ageless Essential Kit
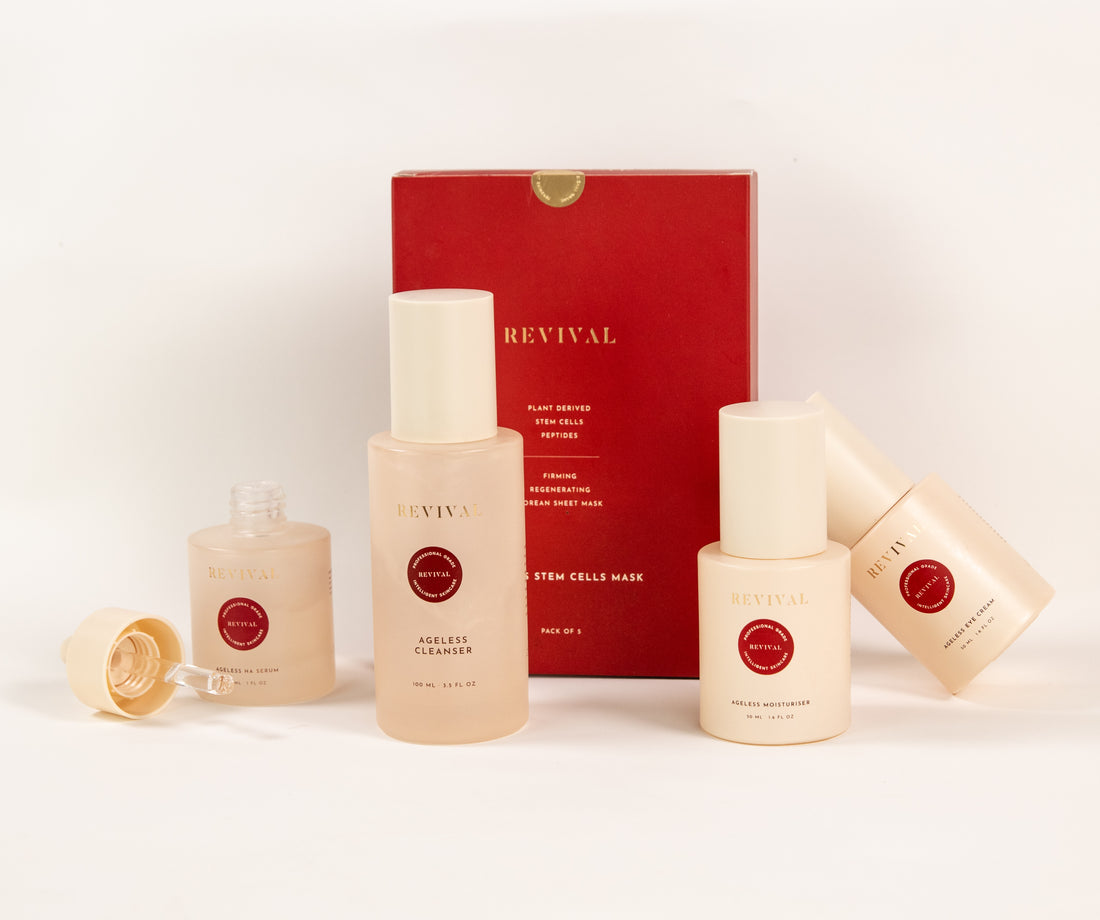 Ageless Essential Kit
- Regular price
-
£138.00 - Regular price
-
£186.00 - Sale price
-
£138.00


